
Machine Ink Graphics
Printed and laminated graphics kits for motocross bikes, snowmobiles, ATVs and side-by-sides.
Shop Kits
Powersports graphics made for machines that get used.
Machine Ink is Pro-Touch's powersports graphics line: the same Saskatoon shop, design standards, printing, laminating, and cutting, with a name built for motocross, snowmobile, ATV, and side-by-side work. It is for riders, teams, and owners who want their machine to look intentional, not patched together. The work can be practical, race-focused, sponsor-ready, or purely personal, but the goal is the same: graphics that fit the machine, carry the identity clearly, and hold up better than ordinary decal material.
Race-ready appearance
Numbers, names, plate backgrounds, and sponsor placement for a cleaner track or event presence.
Personalized machine identity
Colours, layout style, accents, and finishes that make the machine feel like yours.
Team or family consistency
Coordinated graphics across multiple machines without every kit looking identical.
Refresh without replacing everything
Replacement panels, accent pieces, or partial updates when a full redesign is not needed.
Design directions
Not every kit has to look like factory race graphics.
High contrast panels, large numbers, name blocks, and strong sponsor visibility.
Simple colour blocking, restrained branding, and graphics that look like they belong on the machine.
Brighter colour mixes, specialty finishes, and visual impact for photos, pits, shows, or social media.
Replacement pieces designed to work with existing graphics where a complete kit is unnecessary.
Kits and parts
Pick your machine
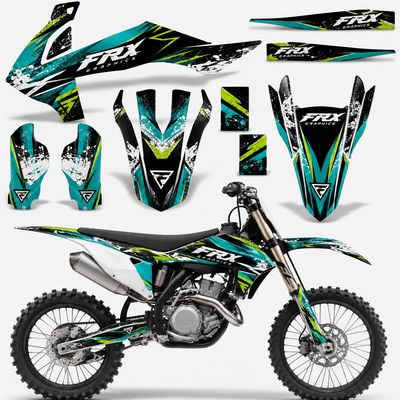
Motocross Decal Kit
Custom high-performance graphics for motocross bikes

Snowmobile Decal Kit
Custom high-performance graphics for snowmobiles
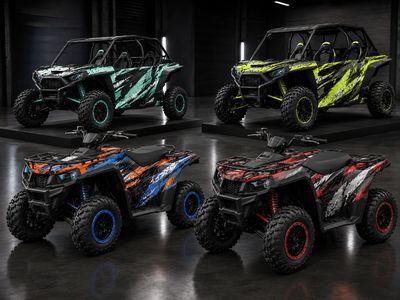
ATV & Side-by-Side Graphics
Custom ATV and side-by-side graphics kits, number plates, and accent graphics.
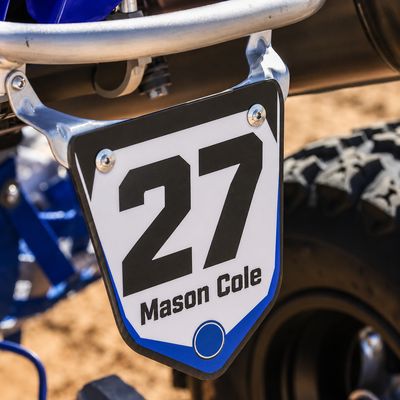
Number Plates
Custom number plates and backgrounds for motocross, ATV, and side-by-side
Material guide
Different machines put different stress on graphics.
A dirt bike shroud, a sled hood, a side-by-side door and a helmet each wear graphics differently. Material, laminate, surface prep, and installation conditions all matter.
MX / dirt bikes
Abrasion, boot wear, roost, fuel exposure, and washing are the big concerns. A heavy laminate is usually the priority.
Snowmobiles
Cold, curves, and large body panels matter. Install temperature is important because cold plastic and vinyl get less forgiving.
ATV / SXS
Mud, washing, branches, and panel contours are the normal abuse points. Edge placement and adhesion matter.
Finish and durability
Print, adhesive, laminate and install all decide how long a kit lasts.
Heavy laminated vinyl
Powersports kits commonly use a thicker print-and-laminate stack than ordinary decals because the graphics are handled, washed, scuffed, and exposed.
High-tack adhesive
Plastics and curved panels are harder to bond to than flat sign panels, so adhesive choice and clean surfaces are part of the lifespan.
Gloss, matte, or specialty finish
The finish changes the look and can change how scratches, dirt, fingerprints, and lighting show on the kit.
Artwork standards
Sponsor logos and numbers need clean artwork
Sponsor logos
Ask each sponsor for their vector logo (AI, EPS, SVG or PDF). It prints far sharper than anything saved from social media.
Usable images
Large, sharp PNG or JPG files can work for some artwork. Screenshots, copied web images, and social media saves often print poorly.
Design references
Photos of styles you like are useful for direction, but final artwork still needs to be built to fit the actual machine panels.
Installation and care
The surface matters as much as the print
Before install
Old adhesive, silicone, oils, wax, dirt, and fuel residue can prevent good adhesion. Plastics should be clean, dry, and at a workable room temperature before graphics are applied.
After install
Fresh graphics need time to bond. Avoid aggressive washing, picking at edges, or applying graphics to cold plastics and immediately putting the machine back into harsh conditions.
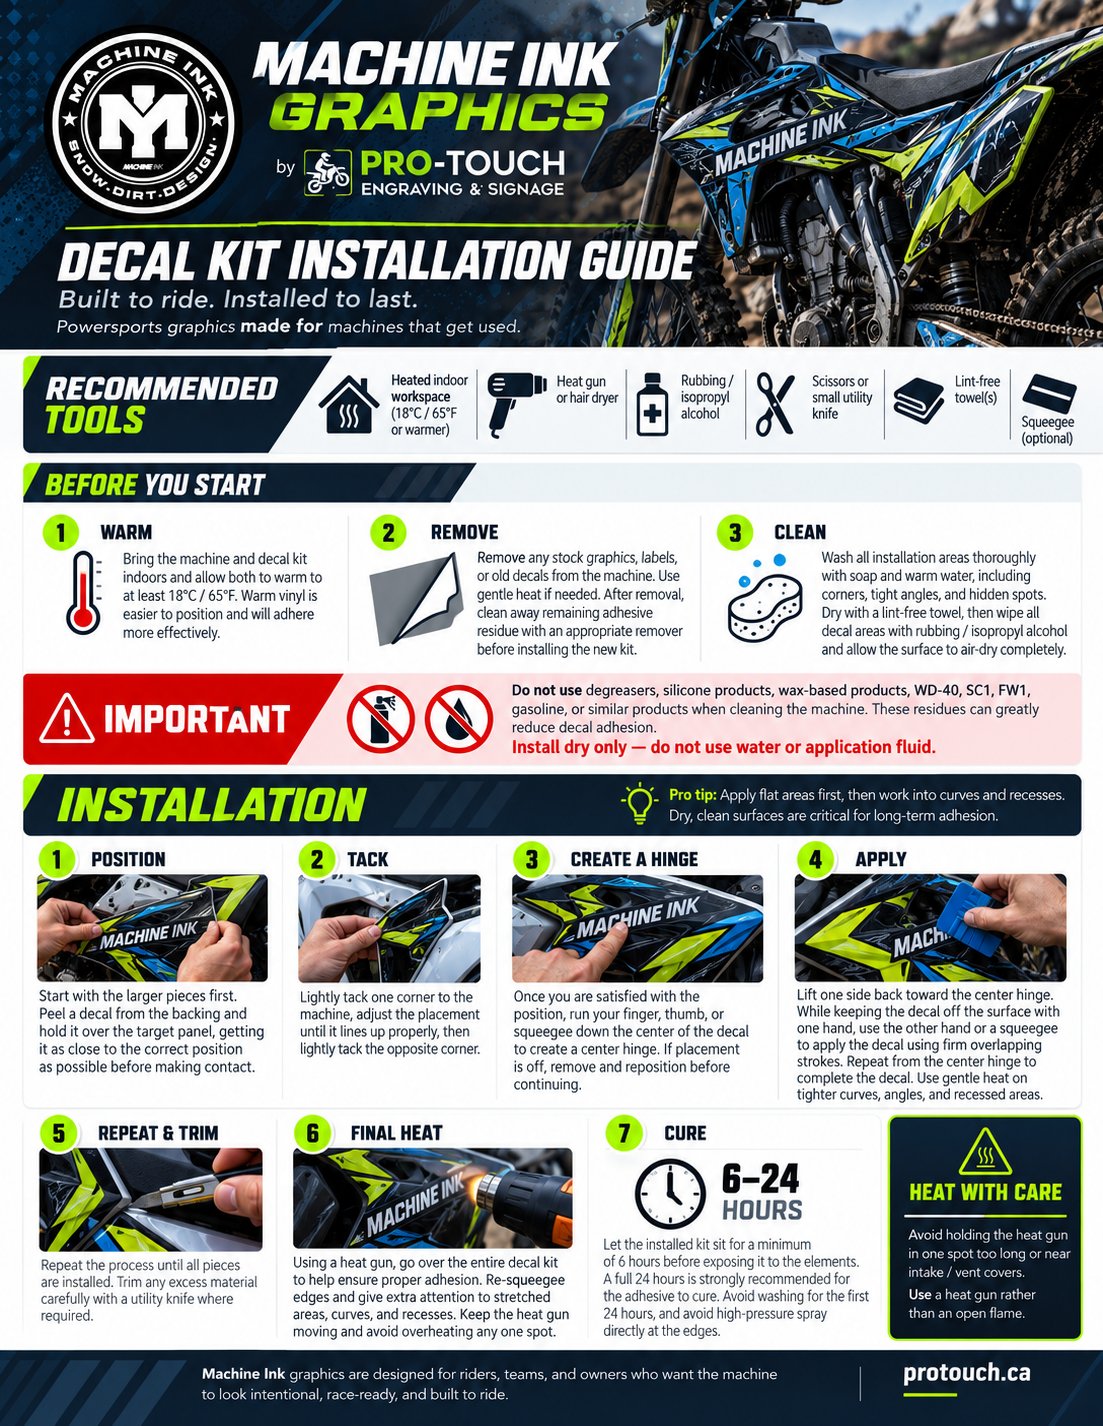
Machine Ink decal kit installation guide
Step-by-step instructions for installing your decal kit: recommended tools, surface prep, the seven installation steps, and cure time. Printable on letter-size paper.
Download the guide (PDF)Rider questions
What to know before your kit goes into production.
Straight answers for riders.
Yes. Accent pieces, number plates, helmet decals, and replacement sections can be quoted when a full kit is not needed.
Yes. Clean logo files make a big difference. If a logo only exists as a tiny screenshot, it may need cleanup before it prints well.
We can work toward a close match, but screen colours, printed vinyl, laminate finish, and existing plastics can all look different in real life.
Installation can be discussed when the job is quoted. Some customers install their own kits; others prefer help, especially with larger panels or sled wraps.